

Anúncios
Practice with these tips
Imagine this: your nails, gleaming with salon-level perfection, catching the light as if kissed by magic ✨. Now, picture achieving that without stepping out of your home. Sounds like a dream, right? Well, with Master the Art of DIY Gel Nails: Pro Tips for Salon-Worthy Results at Home, this dream is about to become your reality. Whether you’re a nail art novice or a seasoned DIY enthusiast, this guide is your ultimate ticket to mastering the craft of flawless gel nails!
But let me ask you this—how often have you left a nail salon feeling disappointed, either because the design didn’t quite match your vision or the price tag stung more than the UV lamp? With the right techniques and a sprinkle of creativity, you can bypass all that. This isn’t just about painting your nails; it’s about embracing a new kind of self-expression and turning your hands into miniature works of art 🖌️. Intrigued? You should be!
Anúncios
The beauty of doing your own gel nails lies in the sheer control it gives you. You decide the color palette, the design, and the finish—down to the last detail. Plus, it’s not just about aesthetics; it’s an experience, a therapeutic ritual where you get to indulge in your creative side. And let’s not forget the satisfaction of being able to say, “I did this myself.” Can you feel the excitement building yet?
Throughout this article, you’ll uncover expert tips that make all the difference. From nailing the perfect prep (spoiler: it’s all about that base coat) to extending the longevity of your gels, each step is packed with insights designed to elevate your DIY nail game. And don’t worry if you’ve struggled with streaks or bubbles before—there’s a solution for everything. But here’s the real question: what’s the secret to achieving that glossy, chip-resistant finish at home? Keep reading, and you’ll find out! 👀
Anúncios
So, whether you’re preparing for a big event or simply want to add a touch of glam to your everyday look, this is your moment to shine—literally. With a little patience and the right know-how, you’ll soon be showing off nails that rival any professional salon’s work. Ready to dive in? Let’s unlock the magic of DIY gel nails together!
Master the Art of DIY Gel Nails: Turn Your Home Into a Glamorous Nail Spa! 💅
Who says you need to book a salon appointment to achieve picture-perfect gel nails? With a little creativity, the right tools, and a sprinkle of patience, you can transform your at-home nail game into something truly extraordinary. Ready to dive into this colorful adventure? Let’s explore how you can master DIY gel nails like a pro and get those salon-worthy results without leaving your cozy abode!
Why Choose DIY Gel Nails? 🎨
Before we jump into the nitty-gritty, let’s take a moment to appreciate the beauty of doing gel nails at home. Not only is it a cost-effective option, but it also allows you to unleash your creativity. Plus, you get to pamper yourself in your pajamas while jamming to your favorite playlist. Sounds dreamy, right?
Here are a few reasons why DIY gel nails are a total game-changer:
- Budget-friendly: Save money on pricey salon visits.
- Creative freedom: Experiment with colors, patterns, and designs.
- Convenience: No more rushing to nail appointments or waiting in line.
- Empowerment: The satisfaction of creating something beautiful yourself.
What You’ll Need to Nail This DIY Experience 🛠️
Before you channel your inner nail artist, make sure you’ve got the essentials. Having the right tools can make all the difference when it comes to achieving flawless gel nails. Here’s your ultimate checklist:
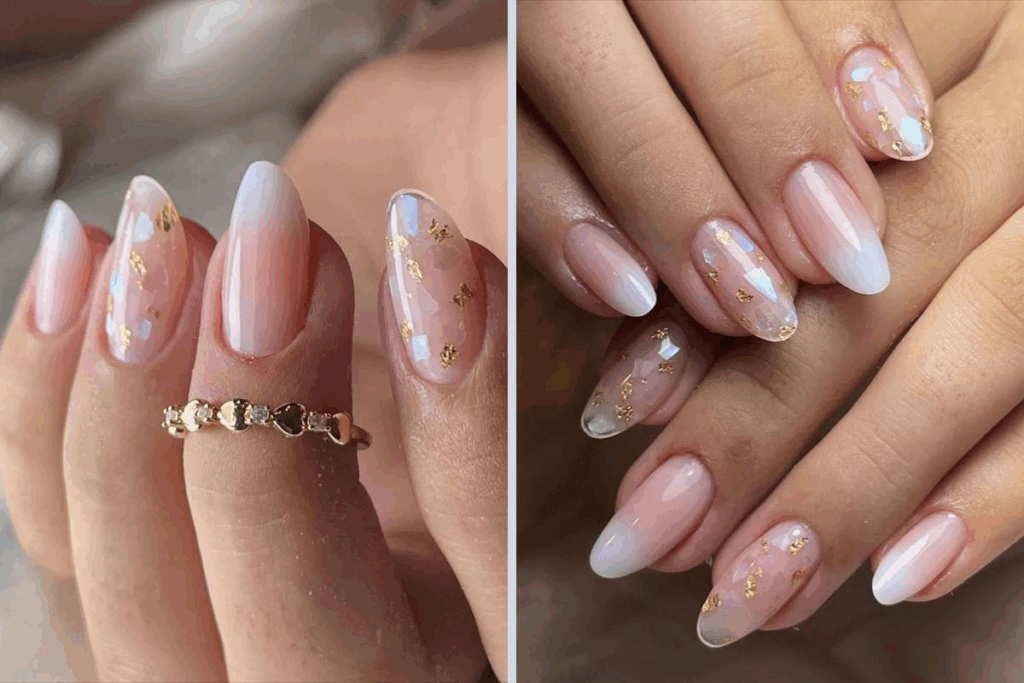
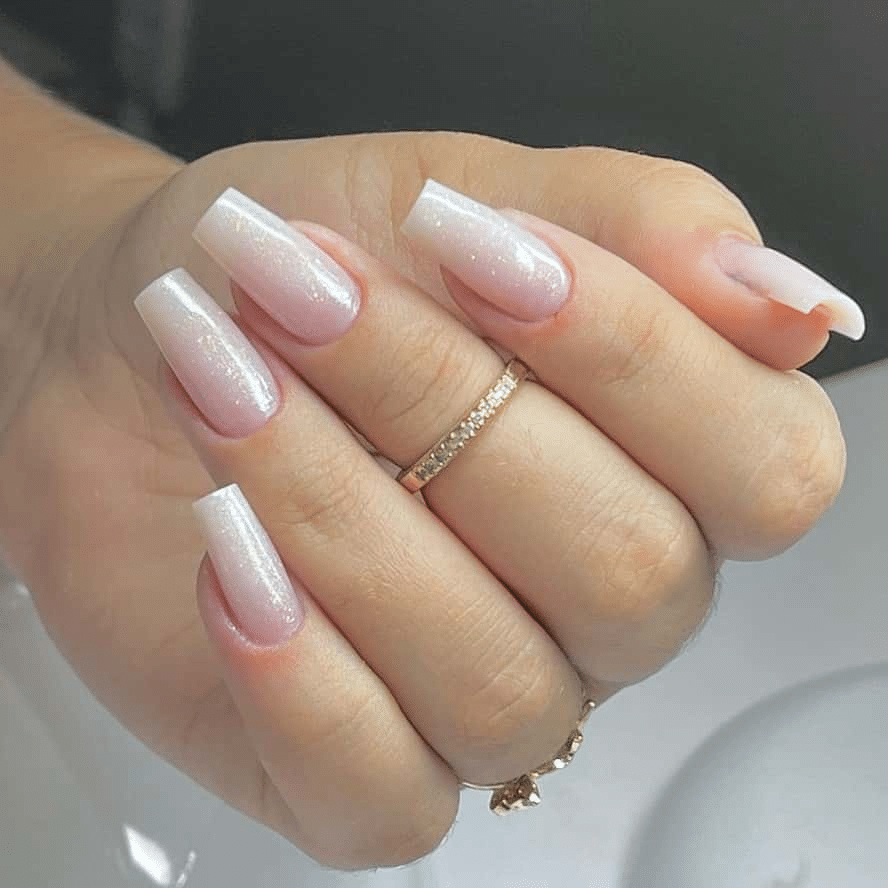
- Gel nail polish: Choose your favorite colors—classic nudes, bold reds, or even glitters for that extra sparkle!
- Base and top coat: Essential for a long-lasting, glossy finish.
- UV/LED lamp: This is a must to cure your gel polish and lock in that shine.
- Nail buffer and file: Smooth and shape your nails like a pro.
- Cuticle pusher: A gentle tool to prep your nails for polish perfection.
- Rubbing alcohol or cleanser: Helps remove any residue for a smooth application.
- Nail art tools: (Optional but fun!) Add dots, stripes, or intricate designs to your masterpiece.
Pro Tip: Investing in a good-quality UV/LED lamp is key. It ensures your gel polish cures properly, giving you that durable, chip-resistant finish.
Step-by-Step Guide to Flawless DIY Gel Nails ✨
1. Prep Your Canvas
Every masterpiece starts with a clean canvas! Begin by washing your hands and ensuring your nails are free from oils or old polish. Use a nail file to shape them and gently push back your cuticles for a neat look.
2. Buff, Buff, Buff
Lightly buff the surface of your nails using a nail buffer. This helps the gel polish adhere better, reducing the chances of peeling later on. Be gentle—no need to overdo it!
3. Apply the Base Coat
Time to lay the foundation! Apply a thin layer of base coat to your nails. This step is crucial for protecting your natural nails and ensuring a smooth application of color. Cure it under your UV/LED lamp for the recommended time (usually 30-60 seconds).
4. Get Creative with Color
Here comes the fun part! Apply your chosen gel polish in thin, even layers. Thin coats are your best friend here—they dry more evenly and reduce the risk of bubbling. Cure each layer under the UV/LED lamp before adding the next.
5. Seal the Deal
Once you’ve achieved the desired color intensity, seal your work of art with a top coat. This step adds that glossy, salon-worthy shine and protects your polish from chipping. Cure it under the lamp for a final time.
6. Wipe and Shine
After curing, your nails might feel sticky. Don’t worry—it’s totally normal! Simply wipe them with rubbing alcohol or a cleanser to remove the tacky layer, and voilà! Your gel nails are ready to shine.
Pro Tips for Salon-Worthy Results Every Time 🌟
Even the most seasoned DIY enthusiasts can benefit from a few expert tricks. Here’s how to elevate your gel nail game:
- Keep it thin: Thick layers of polish take longer to cure and are more likely to peel.
- Stay within the lines: Avoid getting polish on your skin or cuticles—it can cause lifting.
- Be patient: Allow each layer to cure fully before moving on to the next.
- Experiment with designs: Use nail art brushes, stickers, or stamps to create unique looks.
- Hydrate your cuticles: Apply cuticle oil after finishing to keep your nails looking healthy and nourished.
FAQs About DIY Gel Nails 🙋♀️
How long do DIY gel nails last?
When done correctly, DIY gel nails can last up to two weeks or more. Be sure to follow each step carefully for the best results!
Can I remove gel nails at home?
Absolutely! Soak your nails in acetone for 10-15 minutes, then gently push off the softened gel with a cuticle pusher. Avoid peeling them off, as this can damage your natural nails.
Do I need a UV lamp, or can I use an LED lamp?
Both work! Just make sure your gel polish is compatible with the type of lamp you’re using.
What if my nails peel quickly?
This usually happens if the polish wasn’t applied or cured properly. Make sure to buff your nails, use thin layers, and avoid skipping the base and top coat!
Ready to Dive Into the World of DIY Gel Nails? 🖌️
There you have it—your ultimate guide to mastering DIY gel nails. Whether you’re a nail art newbie or a seasoned enthusiast, these tips and tricks will help you create stunning designs right at home. So grab your tools, pick your favorite colors, and let your creativity shine. Happy polishing! 🌈
Conclusion
As you reach the end of this creative journey into the world of DIY gel nails, let’s pause and reflect on the beauty of transformation. Mastering the art of at-home gel nails isn’t just about perfecting a manicure; it’s about embracing your creativity, expressing your individuality, and discovering the joy of self-care—all from the comfort of your own space. 💅✨
This guide has shown that achieving salon-worthy results at home is not only possible but also incredibly empowering. From selecting the right tools to applying polish with precision and finishing with that flawless shine, you’ve unlocked a skill that blends artistry and practicality. And let’s not forget the added bonus: the freedom to experiment with colors, designs, and techniques that truly reflect your unique style.
But beyond the tips and techniques lies something even more profound: a moment to nurture yourself, to reconnect with your creative side, and to indulge in a little luxury. So why not turn each nail session into a ritual of self-expression? 🌸 After all, in every stroke of polish, there’s a story—a small celebration of who you are and who you’re becoming.
As you close this chapter, let me leave you with a thought: What’s the first design you’ll try next? Will it be a bold geometric pattern, a soft pastel ombré, or perhaps a seasonal theme to match your mood? 🎨 Share your ideas and inspirations in the comments below—I can’t wait to see the magical creations you come up with! 💖
Remember, your hands tell your story. Let every manicure be a masterpiece, and let every moment of self-care remind you of the beauty you bring to the world. Thank you for joining me on this creative journey—your time, energy, and imagination mean so much. Now, go forth and paint your own world, one nail at a time. 🌟